
How do I create an order?
NOTE: If your facility uses the stand-alone VOMS application, the Orders/Transfer menu category in the left navigation pane is replaced with a VOMS 2.0 link that opens the VOMS application. If this is the case, see the VOMS User Guide for more information about creating orders.
- After logging in, click the Orders/Transfers > Create/View Orders link in the left navigation pane. This opens the Orders/Transfers page, which displays a list of current orders and transfers.
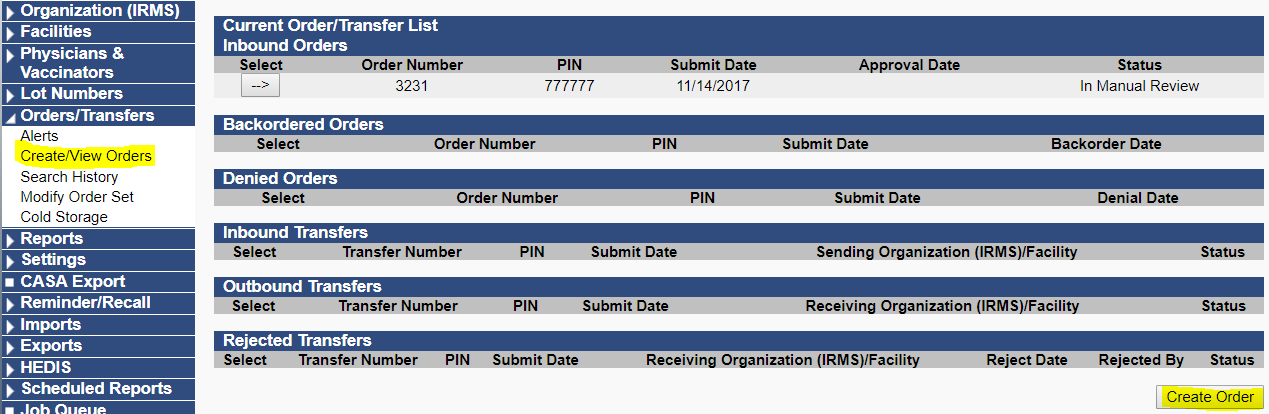
- If your user access level and assigned permissions allow you to create new orders, you will see the Create Order button on the bottom right side. Click it to open the Create Order page.
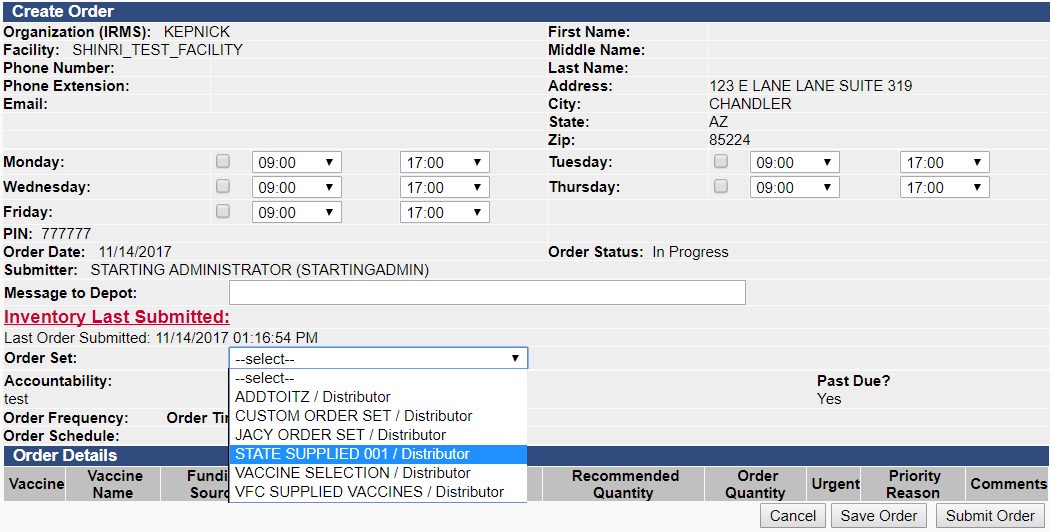
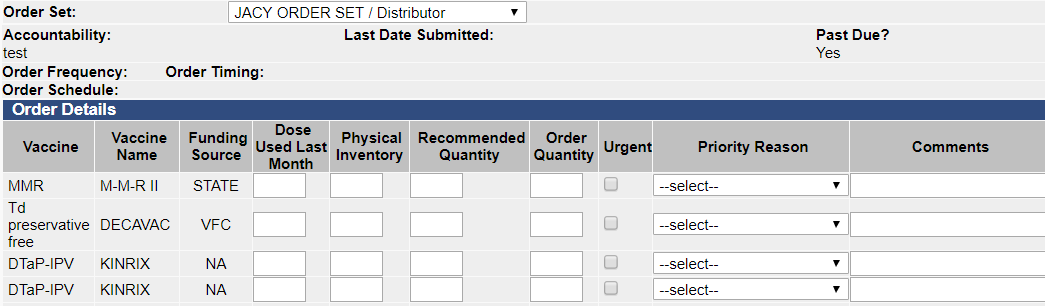
- Enter any delivery information as needed, then select the order set from the drop-down list. Once an order set has been selected, the Order Details section opens to display a list of vaccines included in that order set. (Order sets are pre-configured by administrators.) Enter the quantities and other information as your facility requires.
- To temporarily save the order without submitting it, click Save Order. To immediately submit the order, click Submit Order.

- After saving and/or submitting an order, it appears on the Current Order/Transfer List page. To view the order (or to continue a saved order), click the arrow button on the left side of the order in the list (in the Select column). You can tell the difference between the saved and submitted orders by noting that a saved order does not have a Submitted Date. For submitted orders, clicking the arrow button only allows you to view the order. For saved orders, clicking the arrow button takes you to the page where you can delete the order, edit it, and/or submit it.
