After saving one or more custom report templates, users can create groups and organize the report templates within the groups. Each time a new group is created, it is placed on the menu as a category. Report templates organized within a group are then available within the group category on the menu.
Click here to watch a video on how to manage reports.
The page on which the groups are created and the reports are organized is the Manage Reports page. Click on the Manage Reports menu link to open the Manage Reports page.
Note that as you make changes on the page, the upper right-hand corner of the page displays a warning that changes have not been saved. After Save Changes is clicked, the text displays Changes saved.
Click the Information icon ( ) at the top of the page to view the legend about what each icon displayed on this page means:
| Icon | Description |
|
|
Patient List Report template |
|
|
|
|
|
Share report template |
|
|
Edit report template |
|
|
Delete report template |
To add a new group, click the New Group button. A new section appears below the button; enter the name of the new group and click Create. The new group appears in the Groups section of the page, with Rename and Delete links. Once the Save Changes button is clicked, the new group is added to the menu as a category.
To edit a group's name, click the More icon ( ) next to the current group name, select Rename Group, change the name, and click Done.
To delete a group, click the More icon () next to the current group name and then click Delete Group. Any assigned reports are moved to the Unassigned Reports section of the page and the group is removed from the Groups section. If the group is listed on the menu, it is removed as soon as the Save Changes button is clicked. Note that reports contained in a group are not deleted when the group is deleted, they are simply moved to the Unassigned Reports section of the page.
When finished making changes on the page, click Save Changes. The new group is added to the menu as a report template category when the first report is added to the new group.
To revert to the way the page was before changes were made, click Reset.
As new report templates are saved on the custom reports pages, they are added to the Unassigned Report Templates section on the right side of the Manage Reports page. To add a report template to an existing group (the group must be created before a report template can be added to it), drag and drop the unassigned report template to the group. To remove a report template from a group, drag and drop it from the group to the Unassigned Reports section (or into another group).
When finished making changes on the page, click Save Changes. The report template is now available on the menu as a link under the group category.
Unassigned report templates are listed separately on the menu, under the group category names (if any exist).
To open a report template that has been assigned to a group, first click on the group name in the menu and then on the report template name, which is a link to the actual report template. To open a report template that has not been assigned to a group, locate the report template in the menu under the group name(s) (if any), then click the report template name.
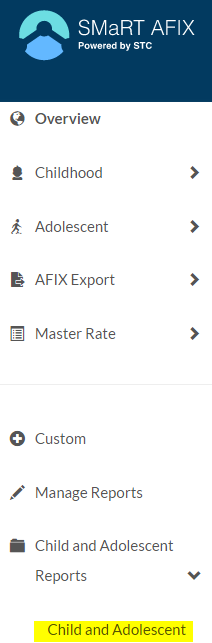
Example report template listed within a group on the menu (the group name is Child and Adolescent Reports):
To edit the name or parameters of a report template, click the Edit icon ( ) next to the report template name, which opens the report template page for the specific report template. Make any necessary changes to the report template and click the Save icon (
 ). Keep the same name or change it, then click Save. The report template is saved on the Manage Reports page, either under the original name or the new name. (Note that the original report template is not saved on the Manage Reports page if the report template was edited and saved under a new name; only the updated report template is saved.)
To delete a report template, click the Delete icon ( ) next to the report template name on the Manage Reports page. The report template is deleted. To retrieve the deleted report before changes are saved on the Manage Reports page, click Reset.
When finished making changes on the page, click Save Changes.
AFIX Coordinators and AFIX users can share report templates with AFIX-level and Facility/Organization users. To share a report template, click the Share icon ( ). The Share Report Template pop-up window opens. Enter one or more email addresses (for the users you want to share the report template with) and click Share. The next time the listed user logs in to SMaRT AFIX, the shared report template appears in the menu under Manage Reports. The shared report template can be placed within a group or deleted, but cannot be shared with Facility or Organization users. In other words:
Only the user who created and shared the report template can edit it. After being re-saved, the modified report template is passed along to the shared recipients the next time they log in to the application.
If the user who created and shared the report template deletes that template, it is also deleted from the accounts of everyone to whom it was shared with.
Note that the email addresses entered must be the same email addresses associated with the users' SMaRT AFIX accounts.

