|
|
State users can select the onboarding stages, activate/deactivate waitlists and rankings, create organization groups, and create standard task subjects on the Onboarding Preferences page, which is access through the Admin > Onboarding menu link.
There are five sections on the Onboarding Preferences page:
On the Provider List page, providers are listed based their current onboarding stage. Four of the onboarding stages are required, but optional stages are also available from the Onboarding Preferences administration page. Included with the stages below are general descriptions on how a State might use that stage during the onboarding process.
The four required stages are:
Optional onboarding stages include:
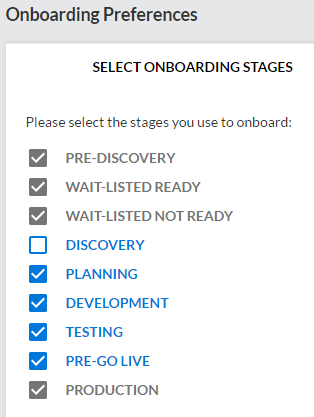
While the four required onboarding stages cannot be removed/deselected in the Select Onboarding Stages list, you can select one or more of the optional onboarding stages to add to the workflow process. To add a stage, select it in the list. A checkmark is placed in the checkbox and the checkbox turns blue. To remove a stage from the process, select it again. The checkmark is removed and the checkbox turns black. The mandatory stages are gray in color on this page and cannot be selected/deselected.
When an optional stage is added to the onboarding process, it appears in all drop-down lists related to the onboarding stages on the Provider List page. When an optional stage is deselected, it is removed from these drop-down lists. Note that if providers are assigned to an optional stage when it is deselected, the providers automatically move to the end of the waitlist rank list for the previous stage.
Click
to see an example Select Onboarding Stages section on the Onboard Preferences
page.![]()
A provider may be waitlisted due to problems on the State side or on the provider side. With ranking/scoring, the more points a provider has, the more likely they are to have a successful onboarding process. By activating waitlisting and ranking, providers have a method of measuring a provider's ability to be onboarded more quickly than other providers with lower scores.
The ranking functionality assigns a score to an organization/facility based on their interface profile answers and ranks them according to that score. If this option is selected, the information displays as part of the onboarding process.
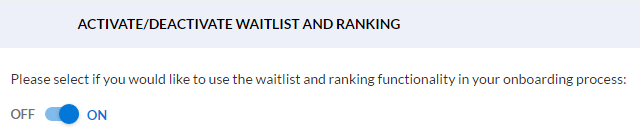
To use the waitlist functionality in the application, toggle the Off/On switch to the On position (after which the control turns blue). When enabled, the Waitlist Rank column appears on the Provider List page.
To turn off the waitlist functionality, toggle the switch to the Off position (after which the control turns black). When this option is disabled (off), the Waitlist Rank column is not displayed on the Provider list page.
Example of the Activate/Deactivate Waitlist and Ranking toggle switch on Onboarding Preferences page:
Organization groups can be created for easier tracking during the onboarding process, such as when you are onboarding an EHR (electronic health record system) used by multiple organizations and facilities. In that example, you can create an organization group that represents the EHR and then easily track all of the organizations/facilities using that EHR. In another example, you can group a large number of providers that belong to the same organization.
Organization group names are included in drop-down lists throughout the application, to help filter information on a page. For example, on the Provider List page, each of the three tab sections (Pre-Discovery, Onboarding, and Production) can be filtered by organization group.
Organizations and facilities can be assigned to organization groups on the Provider Profile page by selecting an organization group name from the Assign to Group drop-down list.
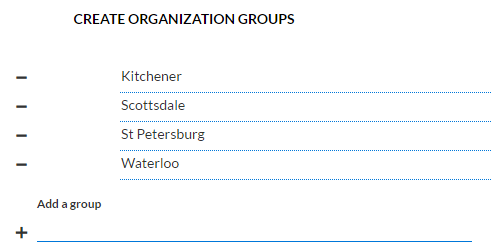
To add an organization group name on the Onboarding Preferences page, click on the Create Organization Groups section header to expand the section. Next, click in the field (on the line where it says Add a group) and type the name of the group, then click the Add icon (+). Note that you need to enter the group name first and then click the Add (+) icon. To edit the name of an organization group, click in the text and edit it. The changes are automatically saved.
To delete an organization group name, click the Delete (-) icon to the left of the organization name. All of the organizations previously added to the group are at that point no longer associated with the deleted group.
Example Create Organization Groups section on Onboarding Preferences page:
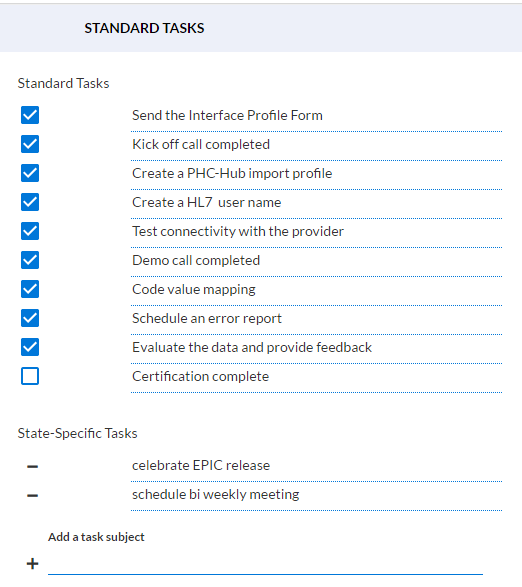
Click the Standard Tasks header to expand the section and select which standard tasks to include. These standard tasks are listed in the Task Subject drop-down list on the Healthcare Provider Onboarding Panel. (See Onboarding for more information about the panel.) Example standard tasks are:
To add a standard task to the Task Subject drop-down list on the Healthcare Provider Onboarding Panel, select it. The checkbox turns blue when a task subject has been selected.
To remove a standard task from the Task Subject drop-down list, select it again. The checkmark is removed from the checkbox.
To edit the text of a standard task, click in the text and edit it. The changes are automatically saved.
State-specific task subjects can also be added. Users on the Healthcare Provider Onboarding Panel can create tasks and assign one of the task subjects added here to the tasks they create.
To add a state-specific task subject, click in the field (on the line where it says Add a task subject) and type the subject, then click the Add icon (+). Note that you need to enter the task first and then click the Add (+) icon.
To delete a state-specific task subject, click the Delete (-) icon on the left. The task subject is removed from the list.
To edit the text of a state-specific task subject, click in the text and edit it. The changes are automatically saved.
Example Standard Tasks section on Onboarding Preferences page:
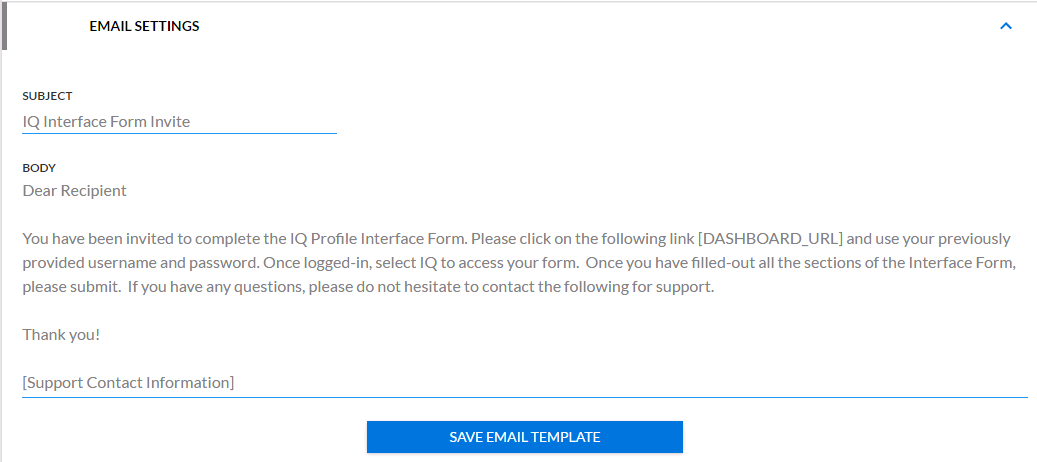
When a State user assigns an interface form to a provider, an email is sent to that provider to let them know. That email is configured in the Email Settings section of the Onboarding Preferences Page.
To configure the email, click the Email Settings header to open the section. Click above the first blue line to enter an email subject, and click above the second blue line to enter the body of the message. Don't forget to include the URL for the application login page and your contact information. Click Save Email Template when finished entering the email content.