|
|
This panel/page is only visible to State users.
The Healthcare Provider Onboarding Panel is a page of the application where a lot of the tasks State users need to perform to onboard an individual provider take place. The Healthcare Provider Onboarding Panel slides in from the right side of the application and can be accessed in two ways:
 ) in the header bar, or
 ) next to
the name of the organization/facility in the list.
) next to
the name of the organization/facility in the list.The information shown on the Healthcare Provider Onboarding Panel is based on the organization/facility displayed in the search bar.
To close the panel after it opens, click either on a menu link or in a white area of the menu panel.
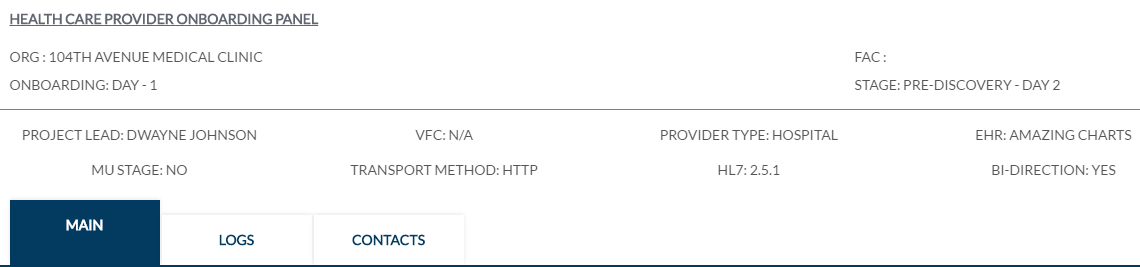
The Healthcare Provider Onboarding Panel displays a lot of pertinent information about the provider, such as:
If any of the above information has been entered on the (submitted) interface form for the provider, it appears in the fields on the page. Otherwise, an "N/A" appears instead.
There are also three tab sections on this page: Main, Logs, and Contacts.
Click
here to see an example of the top section of the Healthcare Provider Onboarding
Panel.![]()
The Main tab section on the Healthcare Provider Onboarding Panel contains several features, such as:
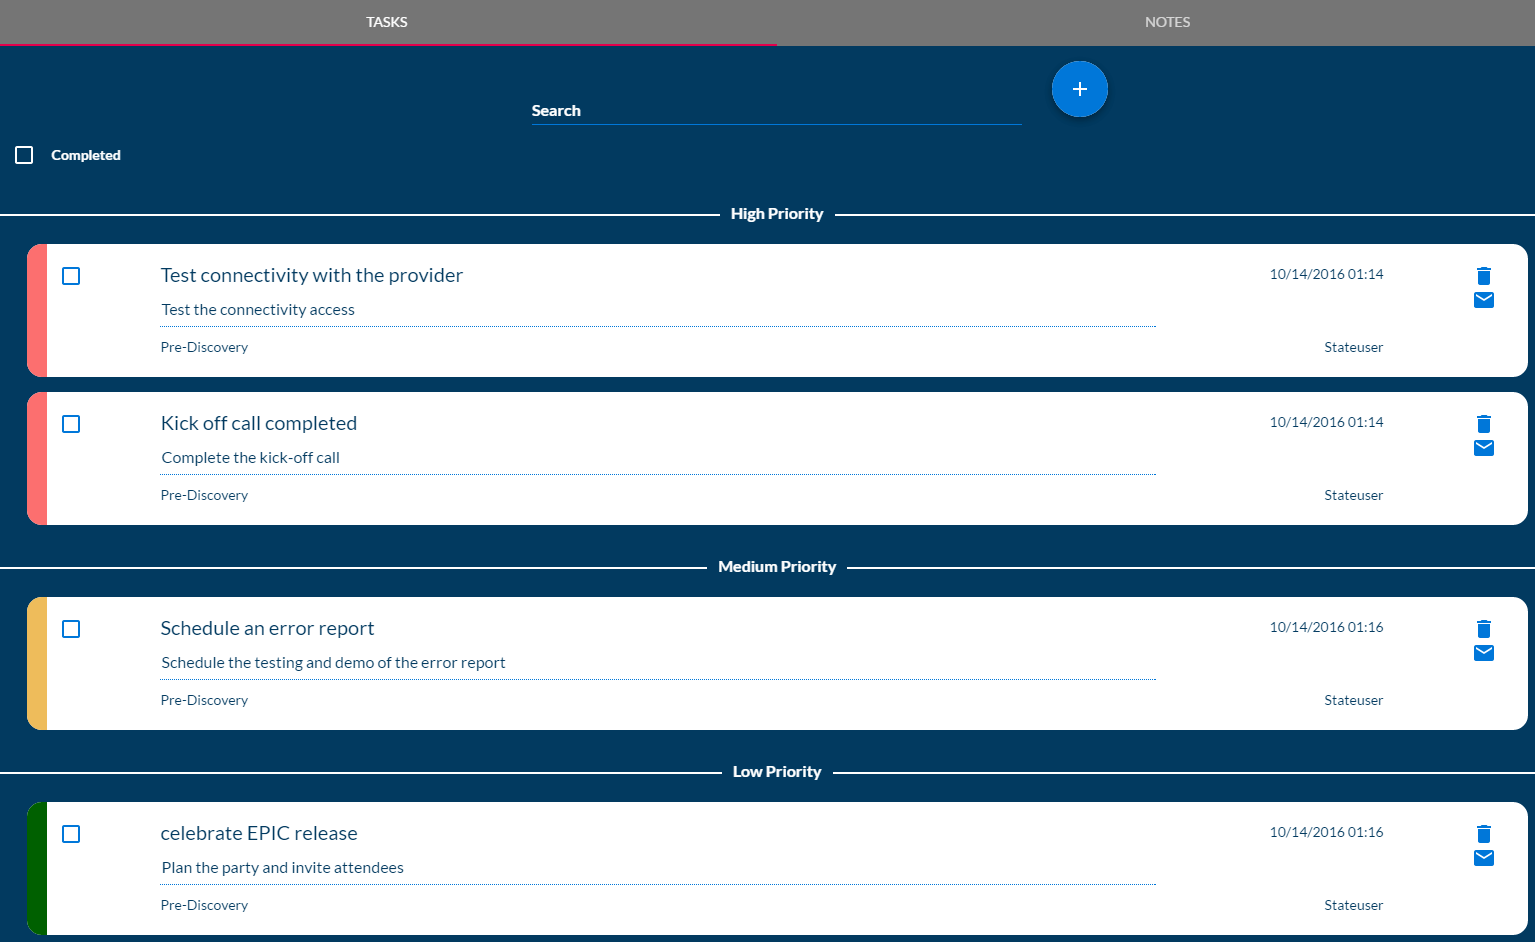
Create and keep track of tasks for individual providers on the Main
tab section of the Healthcare Provider Onboarding Panel. Toward the mid
section of the panel, in a gray bar, are the Tasks and Notes tabs. Click
Tasks to select it, if it is not already selected.
(Click here to see an example task list.)![]()
To add a new task, click the Add icon ( ). The Add
Task pop-up window opens. Select a Task Subject from the first drop-down
list and a Priority Level (High, Medium, or Low) from the second drop-down
list (both are required). Enter the task in the field that says Description. When finished, click
Submit. The pop-up window closes
and the task is added to the list in priority order.
(Click here to see an example Add Task pop-up window.)
). The Add
Task pop-up window opens. Select a Task Subject from the first drop-down
list and a Priority Level (High, Medium, or Low) from the second drop-down
list (both are required). Enter the task in the field that says Description. When finished, click
Submit. The pop-up window closes
and the task is added to the list in priority order.
(Click here to see an example Add Task pop-up window.)![]()
To edit a task, click in the text field and change the text as needed. To add additional lines in the text, press Shift+Enter on the keyboard at the location where you want to add the additional line(s). When finished editing the text, click anywhere outside of the text area; the information is automatically saved.
To email a task to a contact, first make sure that the contact exists
for the provider (see Contacts Tab Section, below).
Next, locate the task you want to email, then click the Email icon ( ). From the Email Contacts window that opens, select
one or more contacts from the list and click Send
Email (which appears after at least one contact is selected). Your
email application opens a new email with the email address(es) in the
To field, the task subject in the Subject line, and the task description
in the message body. You can add or delete email addresses and change
the text before sending the email, if you wish. When ready, send the email
as normal.
). From the Email Contacts window that opens, select
one or more contacts from the list and click Send
Email (which appears after at least one contact is selected). Your
email application opens a new email with the email address(es) in the
To field, the task subject in the Subject line, and the task description
in the message body. You can add or delete email addresses and change
the text before sending the email, if you wish. When ready, send the email
as normal.
To delete a task, click the Delete icon ( ) on the
top right side of the task.
) on the
top right side of the task.
To mark a task as Complete, click the checkbox in the upper left-hand side of the task. The task is removed from the list. To view completed tasks, click the Completed checkbox at the top of the list. (To hide the completed tasks again, click the Completed checkbox again.)
To search for a specific task in the list, enter a few characters of the search term in the Search field. The list of tasks narrows based on the search criteria. To display all tasks again, delete the text from the Search field.
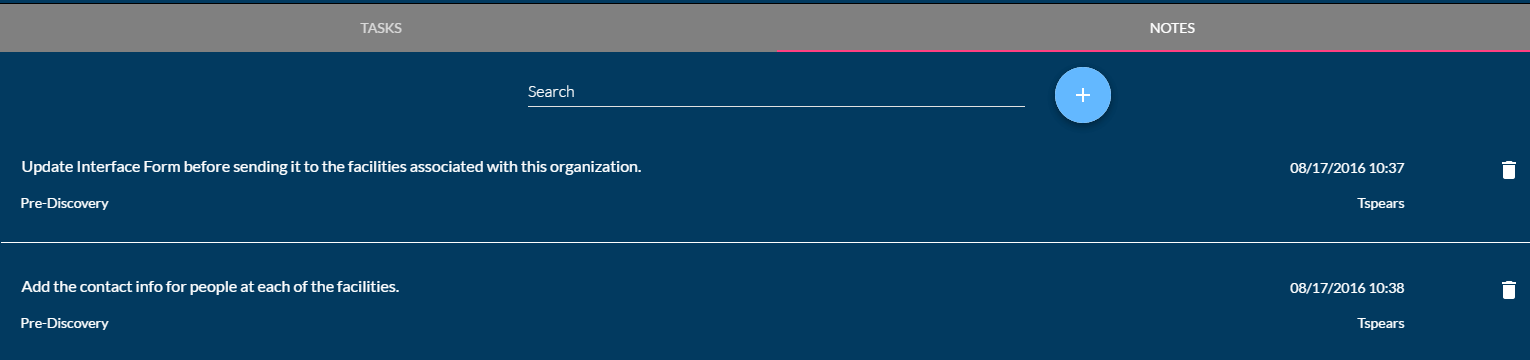
Create notes for individual providers on the Main tab section of the
Healthcare Provider Onboarding Panel. Toward the mid section of the
panel, in a gray bar, are the Tasks and Notes tabs. Click Notes to select
it. (Click
here to see an example notes list.)![]()
To add a new note, click the Add icon (). The Add
Note pop-up window opens. Enter the note in the Description field (click
on the blue line) and then click Submit.
The pop-up window closes and the note is added to the list.
To edit a note, click in the text and change it. When finished editing the text, click anywhere outside of the text area; the information is automatically saved.
To delete a note, click the Delete icon ( ) on the
top right side of the note.
) on the
top right side of the note.
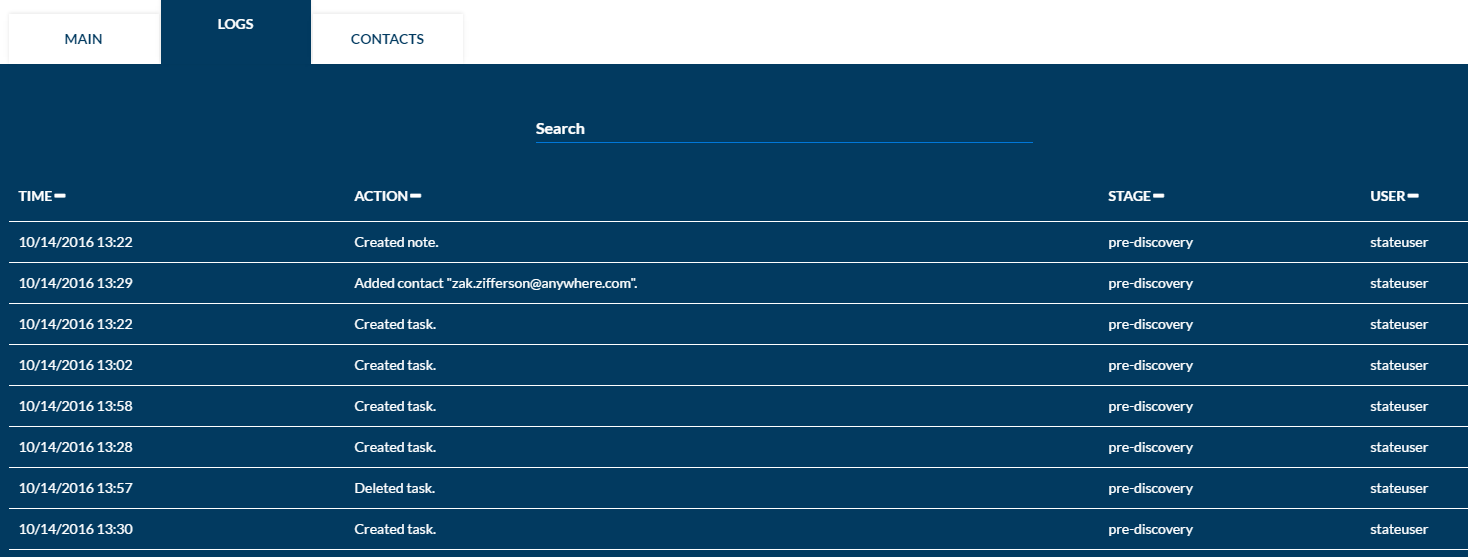
Whenever a provider's information is altered (i.e., a document was uploaded, the waitlist rank or stage was changed, etc.), that information is recorded in a log for that provider, which is then available on the Logs tab section of the Healthcare Provider Onboarding Panel.
To sort the columns on the Logs tab, click the column header. The filter and columns in this section are as follows:
| Filter/Column | Description |
Search (field) |
To search for a specific action, stage, or user in the log, enter a few characters in the Search field. The list narrows to display only the entries that contain the text entered in the Search field. To display the entire log again, remove the text from the Search field. |
Time |
The date and time the action/change occurred. |
Action |
A description of the action/change that took place. |
Stage |
The provider's stage at the time of the action/change. |
User |
The username of the person who made the change. |
Click
here to see an example Logs tab section on the Healthcare Provider Onboarding
Panel.![]()
The Contacts tab section on the Healthcare Provider Onboarding panel
is where the State user can create and maintain a list of contacts related
to the onboarding process of the specific provider.
Click here to see an example Contacts tab section on the Healthcare Provider
Onboarding Panel.![]()
To search for a contact, enter a few characters of the person's name, phone number, email address, or title in the Search field on the Contacts tab. The list narrows to only those entries that match the search criteria. To display the entire list of contacts again, remove the text from the Search field.
To create a new contact, click the Contacts tab on the Healthcare Provider
Onboarding panel for that provider, then click the Add icon (). The Add/Create
Contact for Project window pops-up. It is advisable to first click the
Global Contacts tab to see if the contact already exists in the Global
Contacts list, then click the checkbox next to the name if it does appear
there. If the contact does not appear on the Global Contacts list, click
on the Create Contact tab. Enter the person's first name, last name, position,
phone number, and email address (all fields are optional) and click Create. The person's contact information
is then added both to the contacts list for the specific provider and
also to the Global Contacts list,
so that it can also be used with other providers.
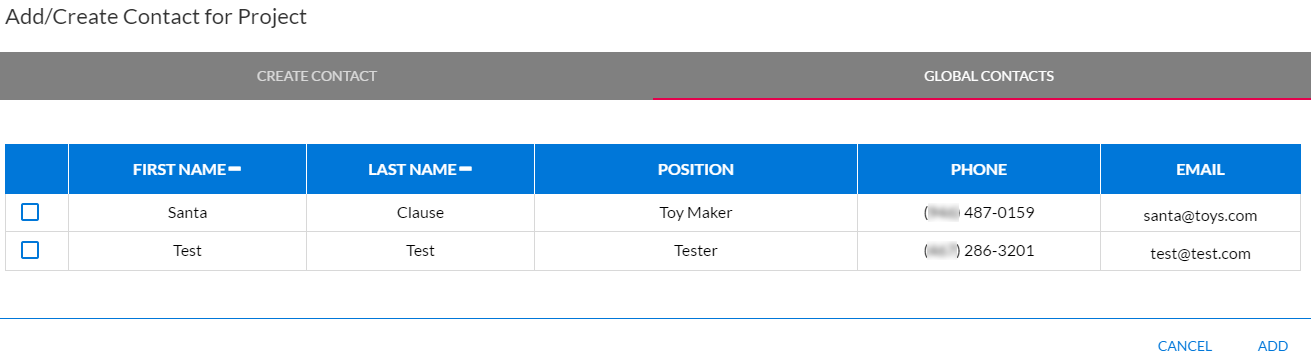
To add an existing global contact to the provider's contact list, click
the Add icon () on the Contacts tab to open the Add/Create
Contact for Project window, then click the Global Contacts tab. Locate
the contact in the list and click on the checkbox next to the name. The
global contact is automatically added to the provider's Contacts list.
(See Global Contacts for more information
about global contacts.) (Click
here to see the Global Contacts tab section of the Add/Create Contact
for Project window.)![]()
Contacts can only be edited on the Global Contacts List administration page (Admin > Global Contacts).
To remove a contact from a specific provider's contact list, click the
Contacts tab, locate and select the contact in the list, and click the
Remove icon ( ). The contact is removed from the provider's
contact list, but is not deleted from the Global
Contacts list.
). The contact is removed from the provider's
contact list, but is not deleted from the Global
Contacts list.
To send an email to one or more contacts, click the Contacts tab, locate the contact(s) in the list and click the checkbox next to the contact name(s). The Send Email button appears as soon as at least one contact is selected; click it to open the computer's email application. The selected email addresses for the selected contact appears in the email's To field. Enter a subject and message and send the email as normal.
To search for a contact group (distribution list) to add to the provider's contacts, enter a few characters of the contact group name in the Search field on the Contact Groups tab. The list narrows to only those entries that match the search criteria. To display the entire list of contacts again, remove the text from the Search field.
If a contact group has not yet been added to the provider, select the Show other contact groups option. Other contact groups that were created on the Contact Groups page (Admin > Contact Groups from the menu) are displayed in the Other Contact Groups section.
To add a new contact group, click the Contact Groups tab on the Health Care Provider Onboarding panel for a provider, select the Show other contact groups option, and enter a few characters of the contact group name in the Search field. Locate the contact group in the Other Contact Groups section and select it. The contact group is then associated with the selected provider.
Contact groups can only be edited on the Contact Groups administration page (Admin > Contact Groups).
To remove a contact group from a specific provider's contact group list,
click the Contact Groups tab, locate the contact group in the list, and
click the Remove icon (). The
contact group is removed from the provider's contact list, but is not
deleted from the Contact Groups page.
To send an email to all of the contacts in a contact group, click the
Contact Groups tab, locate the contact group in the list, and click the
Email icon (). Your default email application (Outlook,
for example) opens with the contacts' email addresses automatically added
to the To field. Enter a subject and message, then send the email as you
normally would.